Follow Me On Social Media!
No Knead Bread: The Easiest, Most Delicious Loaf Ever
Introduction to No Knead Bread
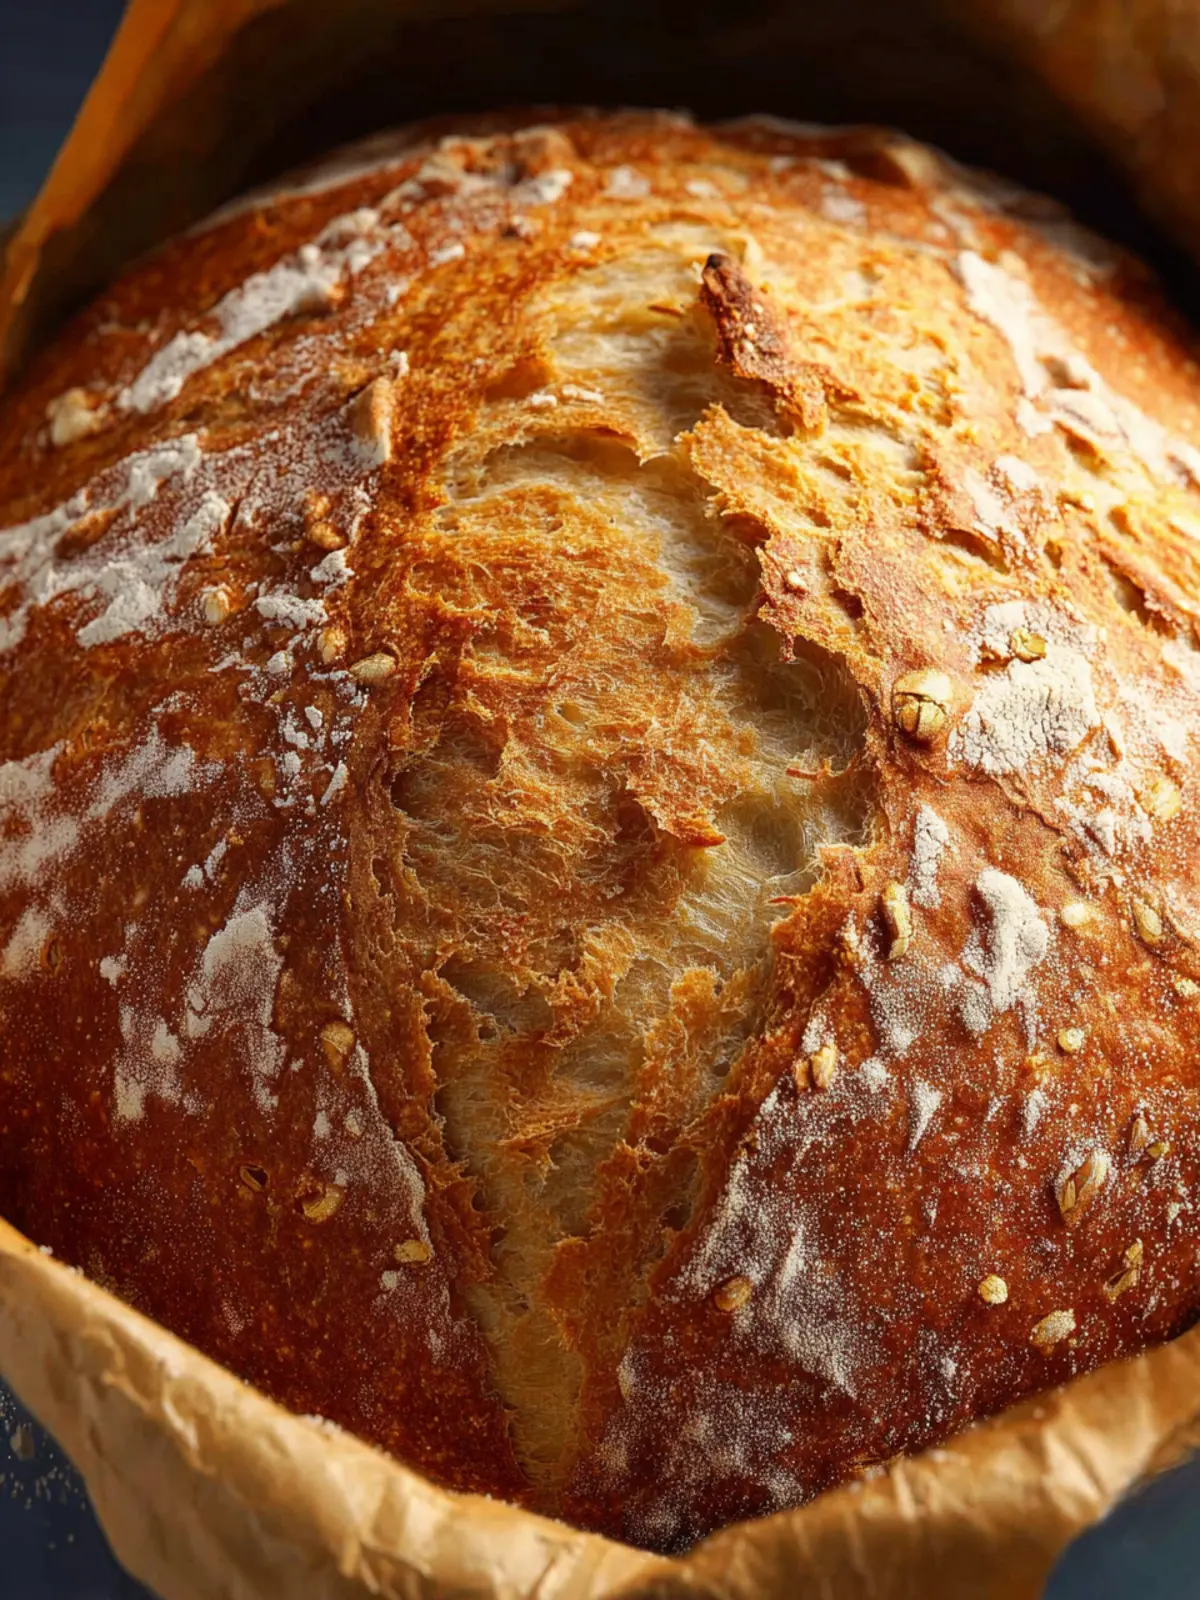
There’s something magical about pulling a fresh, golden crusted loaf from the oven, especially when that loaf is no knead bread. Imagine the aroma filling your kitchen, enticing friends and family to gather around as you slice the warm bread. This no knead bread is not just a recipe; it’s a simplified method of baking that requires minimal effort yet yields spectacular results. Perfectly crusty on the outside and wonderfully chewy on the inside, it transforms everyday meals into special occasions.
What Makes No Knead Bread So Special?
The beauty of no knead bread lies in its simplicity. This method allows even the busiest among us to enjoy homemade bread without the intimidating practice of kneading dough. Instead of complex techniques, the magic happens through a lengthy fermentation process. Let’s explore what makes this bread and its method so appealing:
-
Time Over Effort: Instead of intensive kneading, the dough rises for an extended period—typically 12 to 18 hours. This slow fermentation develops fabulous flavor and texture without much hands-on work.
-
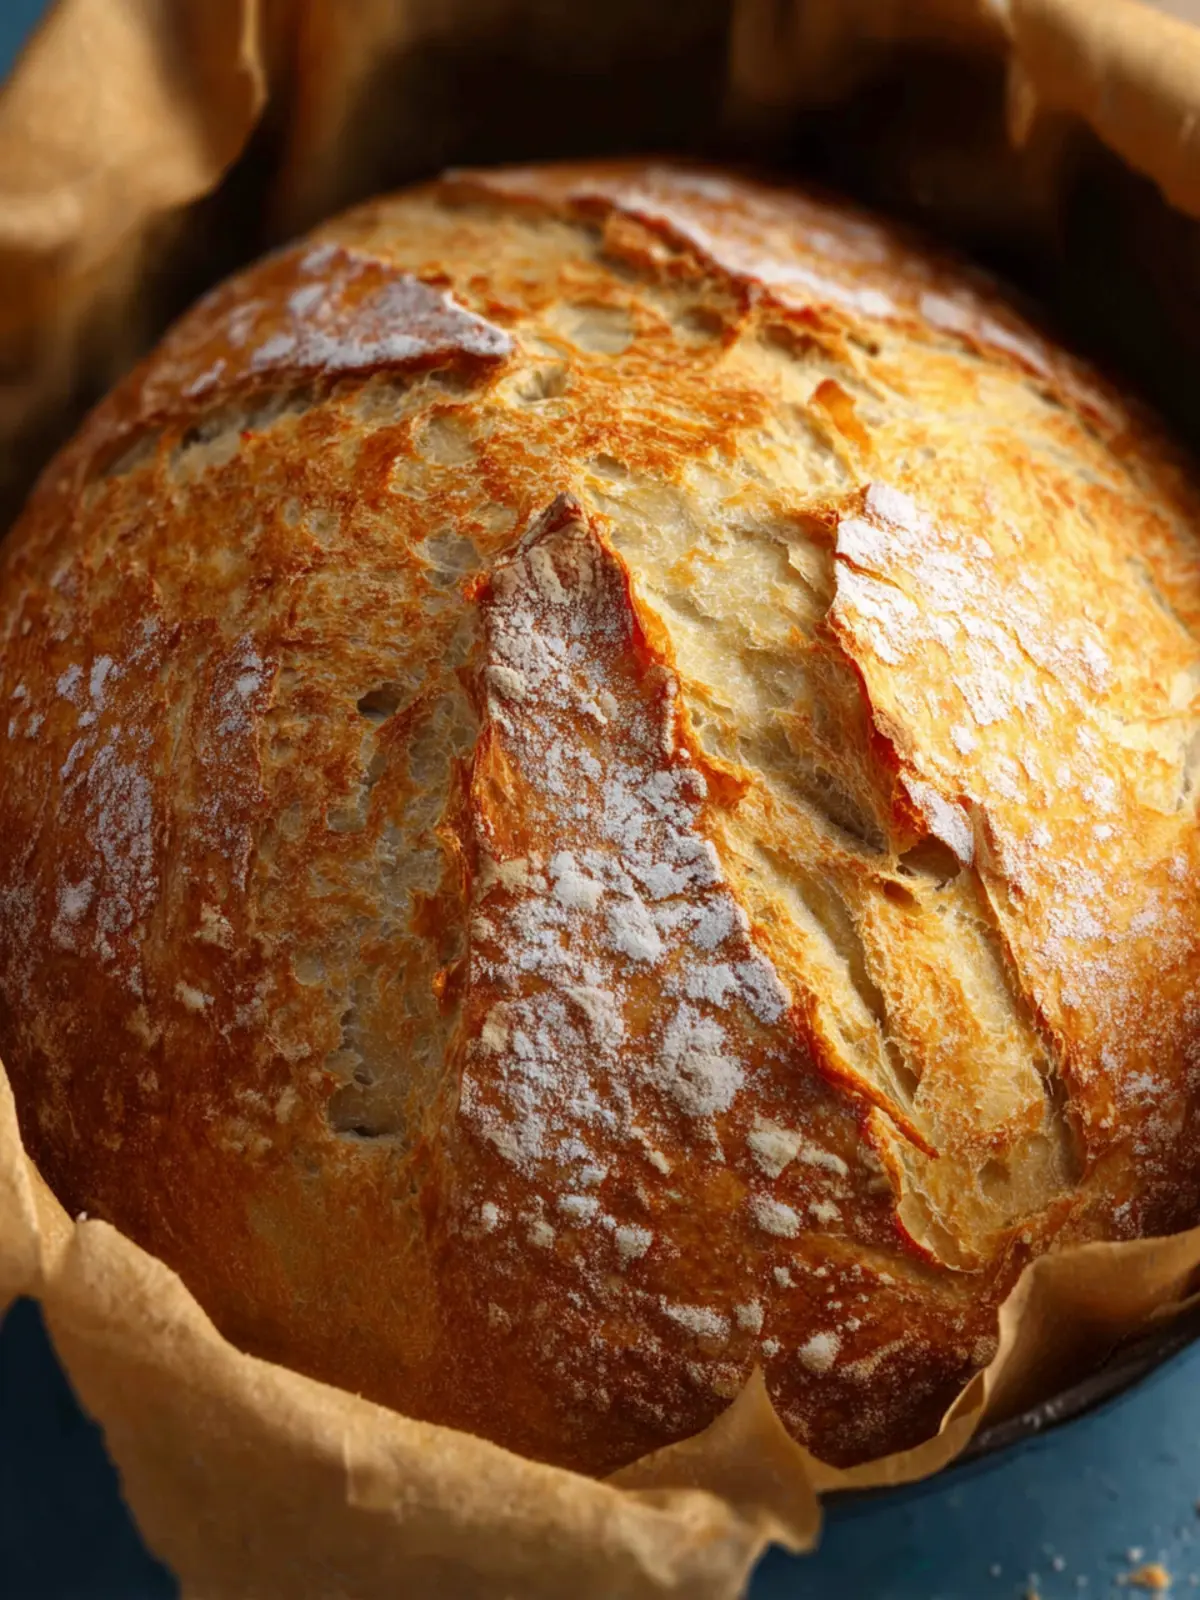
Artisan Qualities: With just four basic ingredients—flour, water, salt, and yeast—you can create a loaf that rivals those from fancy bakeries. The crust is thick and crunchy, while the inside remains soft and airy, striking that perfect balance.
-
Versatility: You can customize your no knead bread by adding herbs, cheese, olives, or nuts, catering to your taste preferences or the occasion. Whether it’s a rustic loaf for a family dinner or gourmet rolls for a picnic, the possibilities are endless.
-
Beginner Friendly: You don’t need to be a seasoned baker to master this recipe! The straightforward instructions and forgiving nature of the process make it an ideal starting point for anyone looking to try their hand at bread-making.
So, whether you’re a busy professional craving a home-baked loaf or a novice baker looking to impress, no knead bread is your ticket to success in the kitchen. Get ready to enjoy not only the process but the delicious outcome!
Key Ingredients for No Knead Bread
Creating a beautiful loaf of no knead bread is not just about convenience; it’s also about choosing the right ingredients that work in perfect harmony. Think of each component like a musician in a band, where each plays its role to create a delightful symphony.
-
Flour: I love using all-purpose flour for its versatility. It provides a sturdy base for the bread without being too heavy. If you’re feeling adventurous, experimenting with bread flour can give your loaf a chewier texture, which is fantastic!
-
Water: This is where the magic happens. Use warm water to help activate the yeast. I’ve found that a temperature around 100°F is ideal—it’s warm enough to wake the yeast but not hot enough to kill it.
-
Salt: This isn’t just for flavor; salt strengthens the gluten structure, improving the bread’s texture. I prefer sea salt for its subtle taste; it makes a difference.
-
Yeast: Active dry yeast is my go-to choice. It’s accessible and really straightforward to work with, providing that essential lift.
-
Time: While not a physical ingredient, patience is crucial. Allow the dough to rise, until it nearly doubles, which could take 12 to 18 hours. This slow fermentation enhances flavor, making it all worth the wait.
Each ingredient plays a vital role, transforming simple components into a beautifully rustic no knead bread.
Why You’ll Love This No Knead Bread
The no knead bread phenomenon has revolutionized homemade loaves, offering an approachable way to bake fresh bread without the fuss of traditional methods. Imagine returning from a long day, greeted by the warm, inviting aroma of freshly baked bread wafting through your kitchen. The beauty of this recipe lies not just in its simplicity but also in the remarkable flavor and texture that emerge from minimal effort.
-
Effortless Preparation: No fancy skills or special equipment are required. Just mix, cover, and let time do the work. It’s perfect for busy professionals who cherish homemade delights without committing to hours of labor.
-
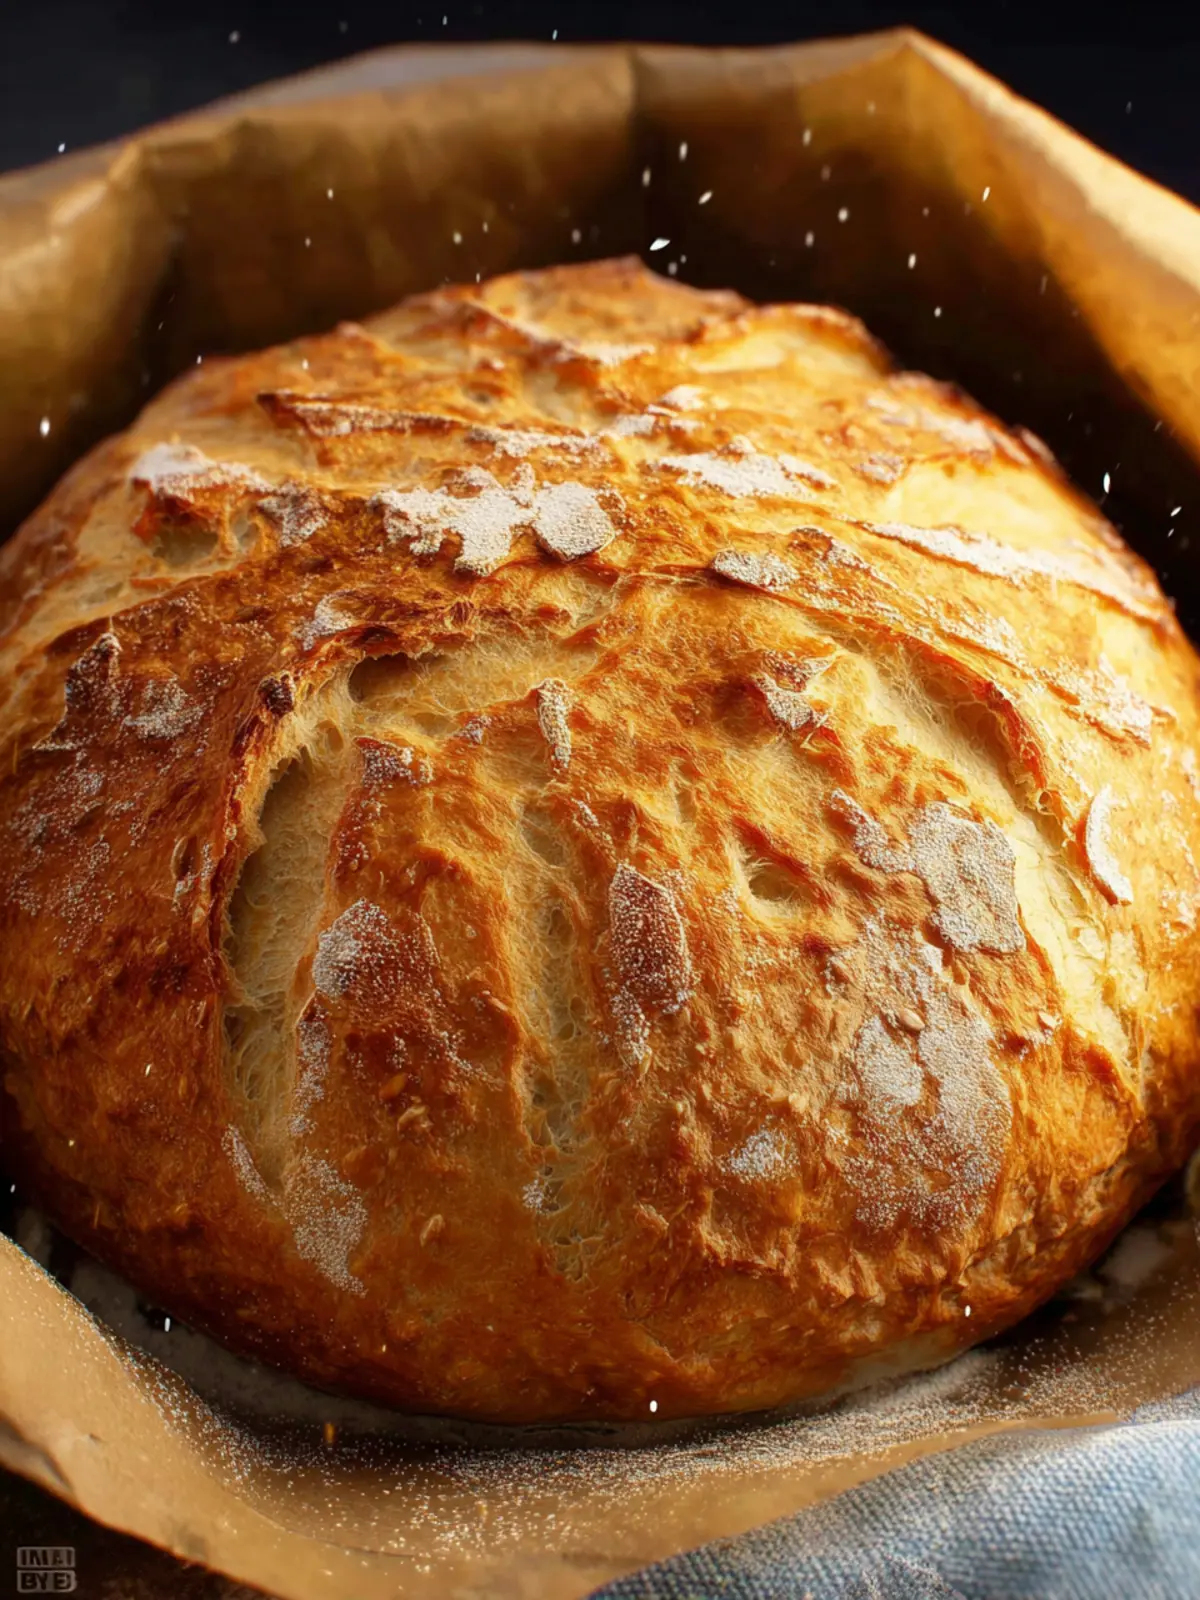
Crispy Crust, Soft Interior: The slow fermentation process creates an amazing crust that crackles as you slice through, while the inside remains delightfully chewy. Each bite feels like a small victory.
-
Versatility at its Best: This no knead bread is a blank canvas. Want a herb-infused loaf? Toss in some rosemary or thyme! Craving something sweeter? Add dried fruits or nuts. It’s great on its own or as the base for your favorite sandwiches.
As you become familiar with this easy yet rewarding technique, you might find yourself making bread more often—because who can resist the charm of a homemade loaf?
Variations of No Knead Bread
Exploring no knead bread opens up a world of delightful variations that can transform a simple loaf into an extraordinary centerpiece for any meal. If you’re like me and love the simplicity of this method, you’ll appreciate how easily you can customize your bread to suit your tastes.
Flavor Boosters
-
Herbs and Spices: Adding fresh herbs like rosemary or thyme can infuse your bread with aromatic flavors. A teaspoon of garlic powder or even a sprinkle of chili flakes can add a touch of heat.
-
Cheese: Incorporate shredded cheese such as cheddar or mozzarella directly into the dough for a savory surprise. Just imagine slicing into a warm loaf and revealing that delightful, gooey center!
Sweet Twists
-
Fruits and Nuts: Dried fruits like cranberries or raisins combined with nuts can provide both flavor and texture. If you’re feeling adventurous, try adding a hint of cinnamon for a sweet breakfast bread.
-
Chocolate Chip Delight: For a treat, fold in some chocolate chips! This version is perfect for an indulgent dessert or a sweet brunch option.
Alternative Flours
- Whole Wheat or Rye: For a heartier bread, consider substituting part of the all-purpose flour with whole wheat or rye flour. This not only enhances the flavor but also increases the nutritional value.
By experimenting with these variations, your no knead bread can become a go-to recipe that feels endless in its possibilities. Each loaf you bake becomes a new adventure!
Cooking Tips and Notes for No Knead Bread
Crafting the perfect no knead bread is almost like an art form, a delightful journey where patience meets deliciousness. It’s not just about choosing the right ingredients; it’s about understanding how they come together. Here are some tips to ensure your loaf emerges golden and gorgeous.
Choosing the Right Flour
For no knead bread, the type of flour you use makes a significant difference. All-purpose flour works beautifully, but opting for bread flour can yield a chewier texture due to higher protein content, producing a crust that’s irresistibly crusty.
Be Mindful of Hydration
The beauty of no knead bread lies in its high hydration dough. Ensure your water temperature is warm (around 100°F) to activate the yeast effectively. If the dough seems too sticky, resist the urge to add more flour; this stickiness is key to achieving that airy crumb.
Patience is Key
Let your dough rise for at least 12 hours at room temperature. This extended fermentation time develops flavor and gluten structure. While waiting might feel like a test, the aroma wafting through your kitchen once it’s baking will make it worth your while!
Handling the Dough
When it’s time to shape your dough, flour your hands and the work surface liberally. This avoids sticky situations that can lead to a messy transfer. Gently fold and stretch the dough without knocking out too much air.
Preheating the Dutch Oven
To achieve that stunning crust, don’t forget to preheat your Dutch oven. This step mimics a professional steam-injected oven, creating a hot atmosphere that promotes oven spring—your bread’s way of puffing up beautifully.
Embrace these tips, and you’ll find that no knead bread not only becomes a staple in your home but also a cherished activity. Happy baking!
Serving Suggestions for No Knead Bread
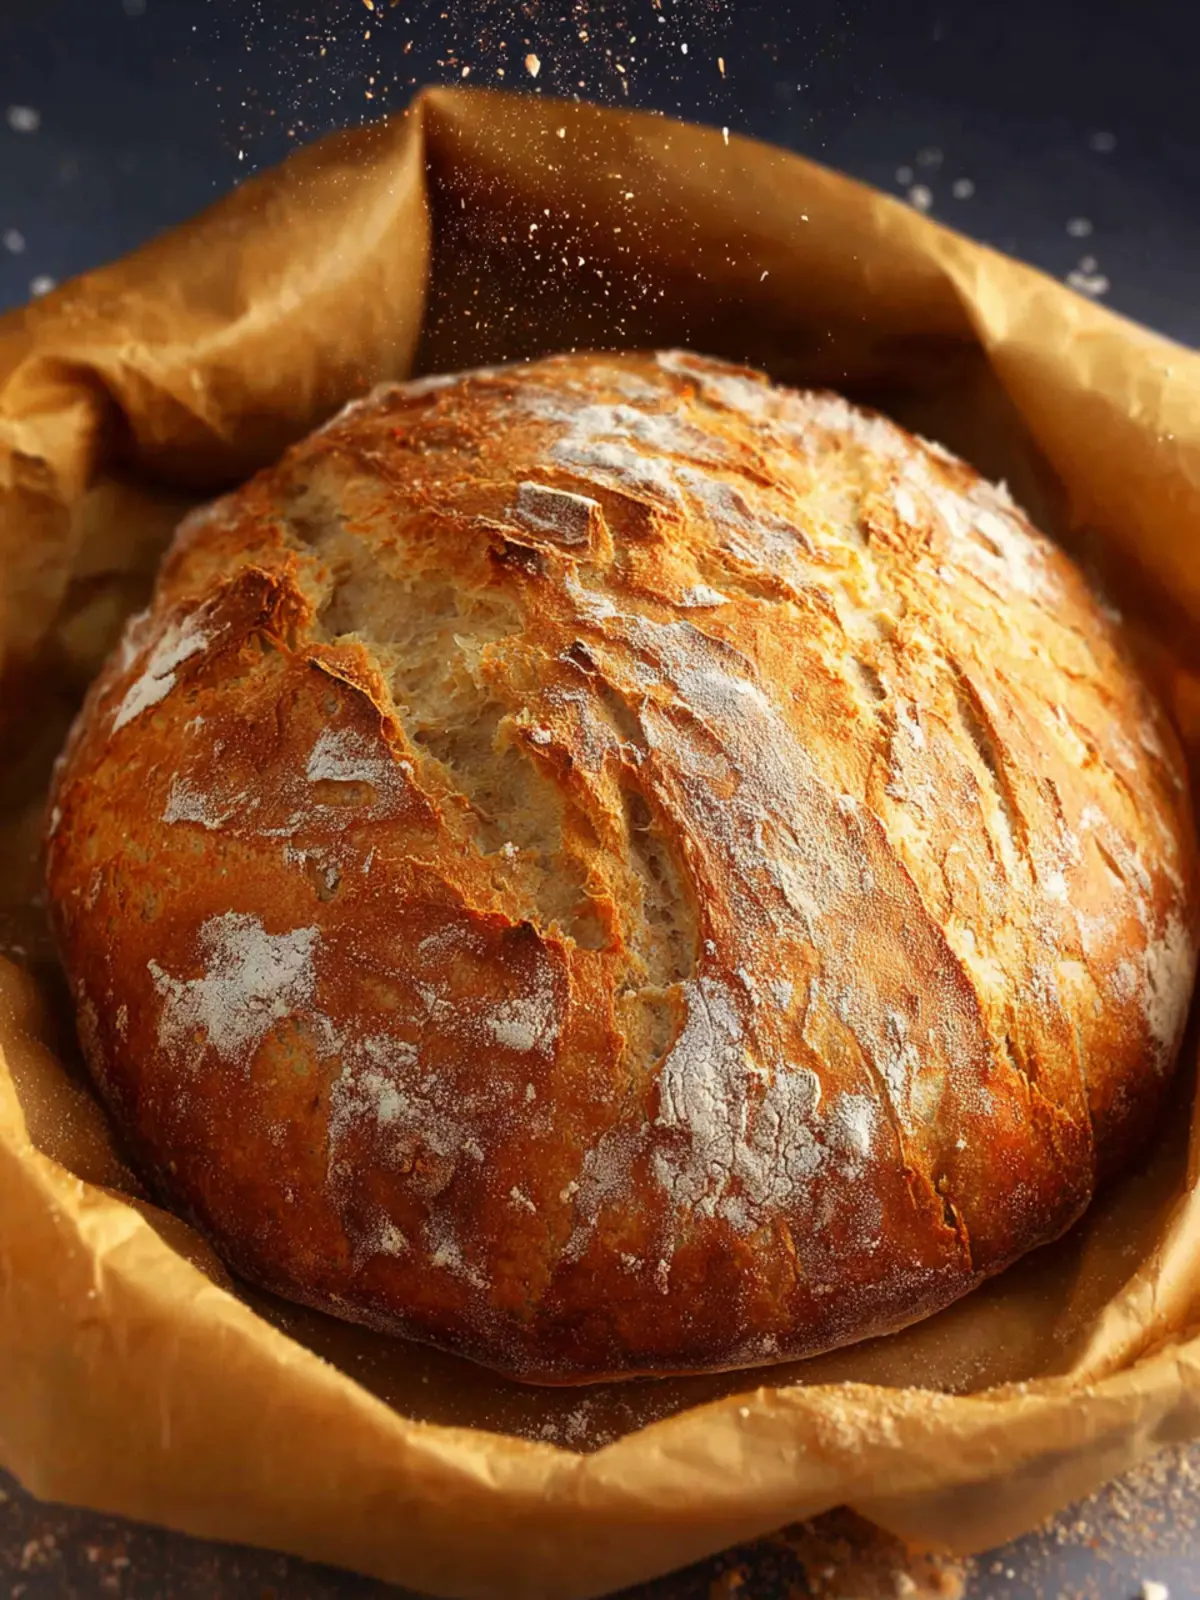
Imagine pulling a beautifully crusty, golden loaf of no knead bread from your oven, and the delightful aroma filling your kitchen. The joy doesn’t end there! This bread’s versatility allows for so many delicious serving options that can turn a simple meal into a memorable feast.
Simple Spreads
- Butter: A classic choice, warmed butter enhances the flavor and texture of the bread. Spread it generously, and enjoy the melt-in-your-mouth experience.
- Olive Oil & Balsamic Vinegar: For a Mediterranean twist, drizzle some quality olive oil and balsamic vinegar on the bread. The tangy notes elevate the freshness of your no knead bread.
Accompaniments
- Cheese Platter: Pair your fresh loaf with a selection of cheeses—think sharp cheddar, creamy brie, or tangy goat cheese. The contrast in flavors is simply divine.
- Soups and Stews: Serve slices alongside hearty soups or stews. The rustic charm of your no knead bread complements the warmth and comfort of these dishes beautifully.
With these ideas, your no knead bread will become the star of every gathering. Enjoy experimenting with different pairings!
Time Breakdown for No Knead Bread
Creating the perfect no knead bread is as much about the process as it is about the ingredients. Each phase of this recipe adds to the magic, ensuring a crusty exterior and a soft, airy interior. Let’s take a closer look at how your time will be spent crafting this delightful bread.
Preparation Time
Getting started with your no knead bread takes about 5-10 minutes. You’ll mix your flour, water, yeast, and salt, forming a shaggy dough that’s wonderfully uncomplicated.
Rising Time
Patience is key here! Allow your dough to rise for approximately 12-18 hours at room temperature. This long fermentation is what will intensify the bread’s flavor and texture.
Baking Time
Once your dough has risen, the baking process will take around 30-35 minutes. You’ll love the aroma that fills your kitchen as the bread transforms into a golden crust.
Total Time
In total, you’ll need about 13-19 hours from start to finish, with most of that time being hands-free. So, you can kick back and let the bread do its thing!
Nutritional Facts for No Knead Bread
Understanding the nutritional facts of your homemade no knead bread can help you enjoy it guilt-free. Each slice is not only comforting but also packed with qualities that contribute to a balanced diet.
Calories
Each slice of your delicious no knead bread contains approximately 150 calories. It’s an excellent option for those enjoying a hearty slice alongside their meal.
Protein
With about 5 grams of protein per slice, this bread is a great companion for sandwiches or toasts. The protein helps keep you full, making it a smart choice for breakfast or lunch.
Sodium
The sodium content is around 250 mg per slice, making it a moderate option in terms of salt intake. You can adjust the amount of salt in your recipe to meet your dietary preferences without sacrificing flavor.
Embrace the joy of baking with no knead bread, knowing that you’re crafting a wholesome addition to your meals!
FAQs about No Knead Bread
When you venture into the world of no knead bread, you embark on a delicious journey that requires minimal effort for maximum flavor. You might have a few questions as you explore this delightful and fuss-free bread-making method. Let’s dive into some common queries!
How long does no knead bread last?
A freshly baked no knead bread typically lasts about 2 to 3 days when stored at room temperature in a paper bag. However, you can extend its life by wrapping it tightly in plastic wrap or aluminum foil. If you want to keep it longer, consider freezing it. Just slice it first, so you can easily pull out individual pieces to enjoy whenever the craving strikes!
Can I add herbs or cheese to the dough?
Absolutely! One of the joys of making no knead bread is its versatility. Feel free to mix in your favorite herbs, such as rosemary or thyme, for an aromatic twist. You can also incorporate grated cheese, like cheddar or parmesan, into the dough for a savory flavor boost. Just be sure to adjust the moisture slightly; wetter additions might require a fraction more flour to maintain the ideal dough consistency.
What if my dough doesn’t rise?
If your no knead bread dough isn’t rising, don’t panic! This can often be traced back to yeast issues—ensure your yeast is fresh and active. Make sure your water isn’t too hot or too cold when mixing; it should be warm but not scalding. If all else fails, give it more time. Sometimes, dough just needs a little extra love and patience to rise effectively.
Conclusion on No Knead Bread
Crafting homemade no knead bread is not just about baking; it’s an experience. With minimal hands-on time required, anybody can create a beautiful loaf that fills the home with an irresistible aroma. This simple method reveals the magic of fermentation, transforming humble ingredients into crusty, chewy perfection. Enjoy the satisfaction of slicing into your creation, spreading a bit of butter or olive oil, and sharing it with family and friends. Whether you’re pairing it with soup for dinner or using it for a weekend brunch, no knead bread is sure to become a staple in your kitchen.
Print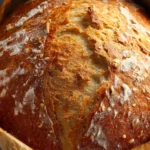
No-Knead Bread
- Total Time: 8 hours 15 minutes
- Yield: 1 loaf 1x
- Diet: Vegetarian
Description
This no-knead bread is simple to make and yields a crusty, flavorful loaf.
Ingredients
Scale
- 750 g Strong white bread flour
- 3 tsp Fine sea salt
- 7 g Fast action yeast
- 500 ml Warm water
- Extra flour for sprinkling
Instructions
- Mix all of the ingredients (apart from the extra flour for sprinkling) well in a very large bowl. Use a spatula and/or clean hands to form a dough, making sure there’s no dry flour left at the bottom of the bowl.
- Cover with clingfilm or baking paper and leave overnight at room temperature (8-12 hours).
- In the morning, the dough should have doubled in size (maybe more) and look bubbly.
- Preheat your oven as hot as it will go (probably about 220°C/450F) and pop your lidded dish into the oven. (A pan about 26cm or 28cm diameter works best.)
- Allow the dish to preheat for 30 minutes.
- Lay a baking paper sheet onto your worksurface and sprinkle with a little extra flour.
- When the pan is very hot, carefully remove from the oven and take the lid off.
- Carefully tip your dough out onto the baking paper (you may need to scrape the edges of the bowl to release it).
- Gently ease the bread on the baking paper sheet into the very hot tin. Be careful not to touch the pan! Try not to touch the dough too much as it will be very sticky.
- Bake for 30 minutes with the lid on, then remove the lid and bake for a further 30 minutes or until the bottom of the bread, when tipped out and tapped, sounds hollow.
Notes
- The dough will be very sticky; use wet hands to handle it.
- For best results, use a Dutch oven or similar lidded dish for baking.
- Prep Time: 15 minutes
- Cook Time: 1 hour
- Category: Breads
- Method: Baking
- Cuisine: American
Nutrition
- Serving Size: 1 slice
- Calories: 220
- Sugar: 0
- Sodium: 360
- Fat: 1
- Saturated Fat: 0
- Unsaturated Fat: 0
- Trans Fat: 0
- Carbohydrates: 44
- Fiber: 2
- Protein: 8
- Cholesterol: 0