Follow Me On Social Media!
Red Velvet Whoopie Pies: Indulgent Treats for Any Celebration
Introduction to Red Velvet Whoopie Pies
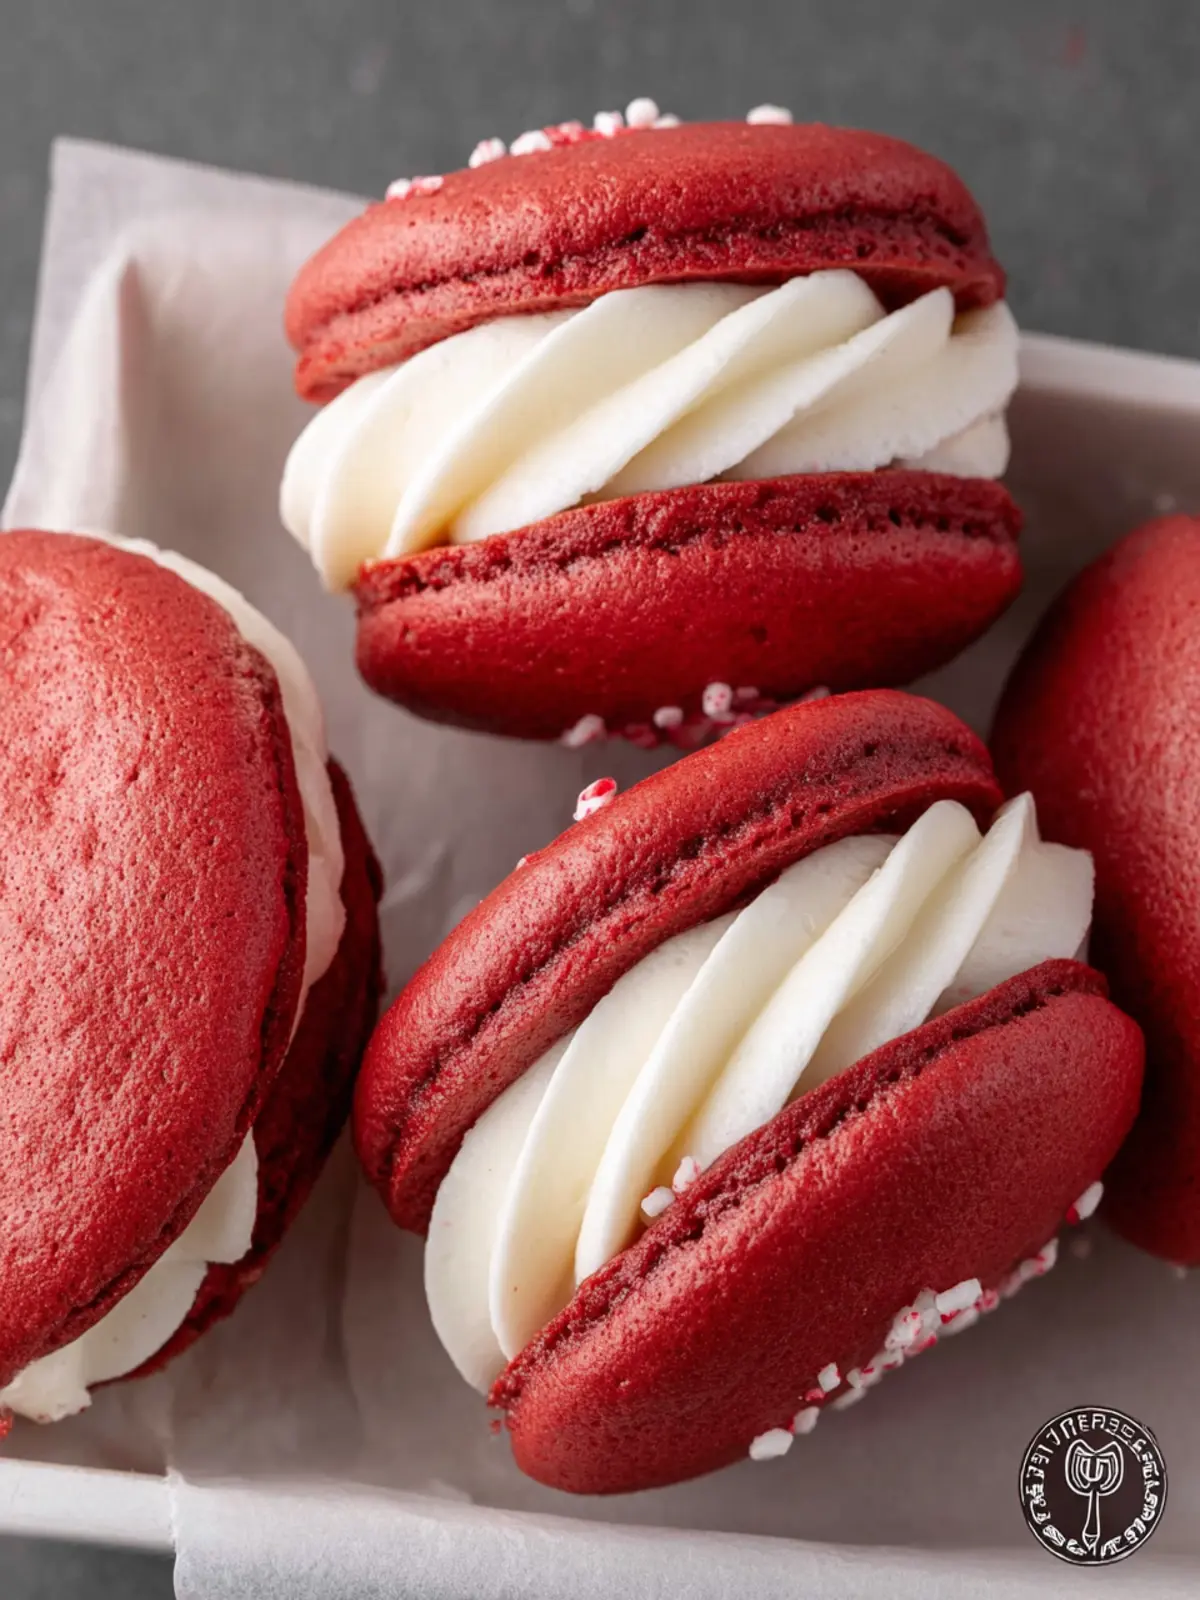
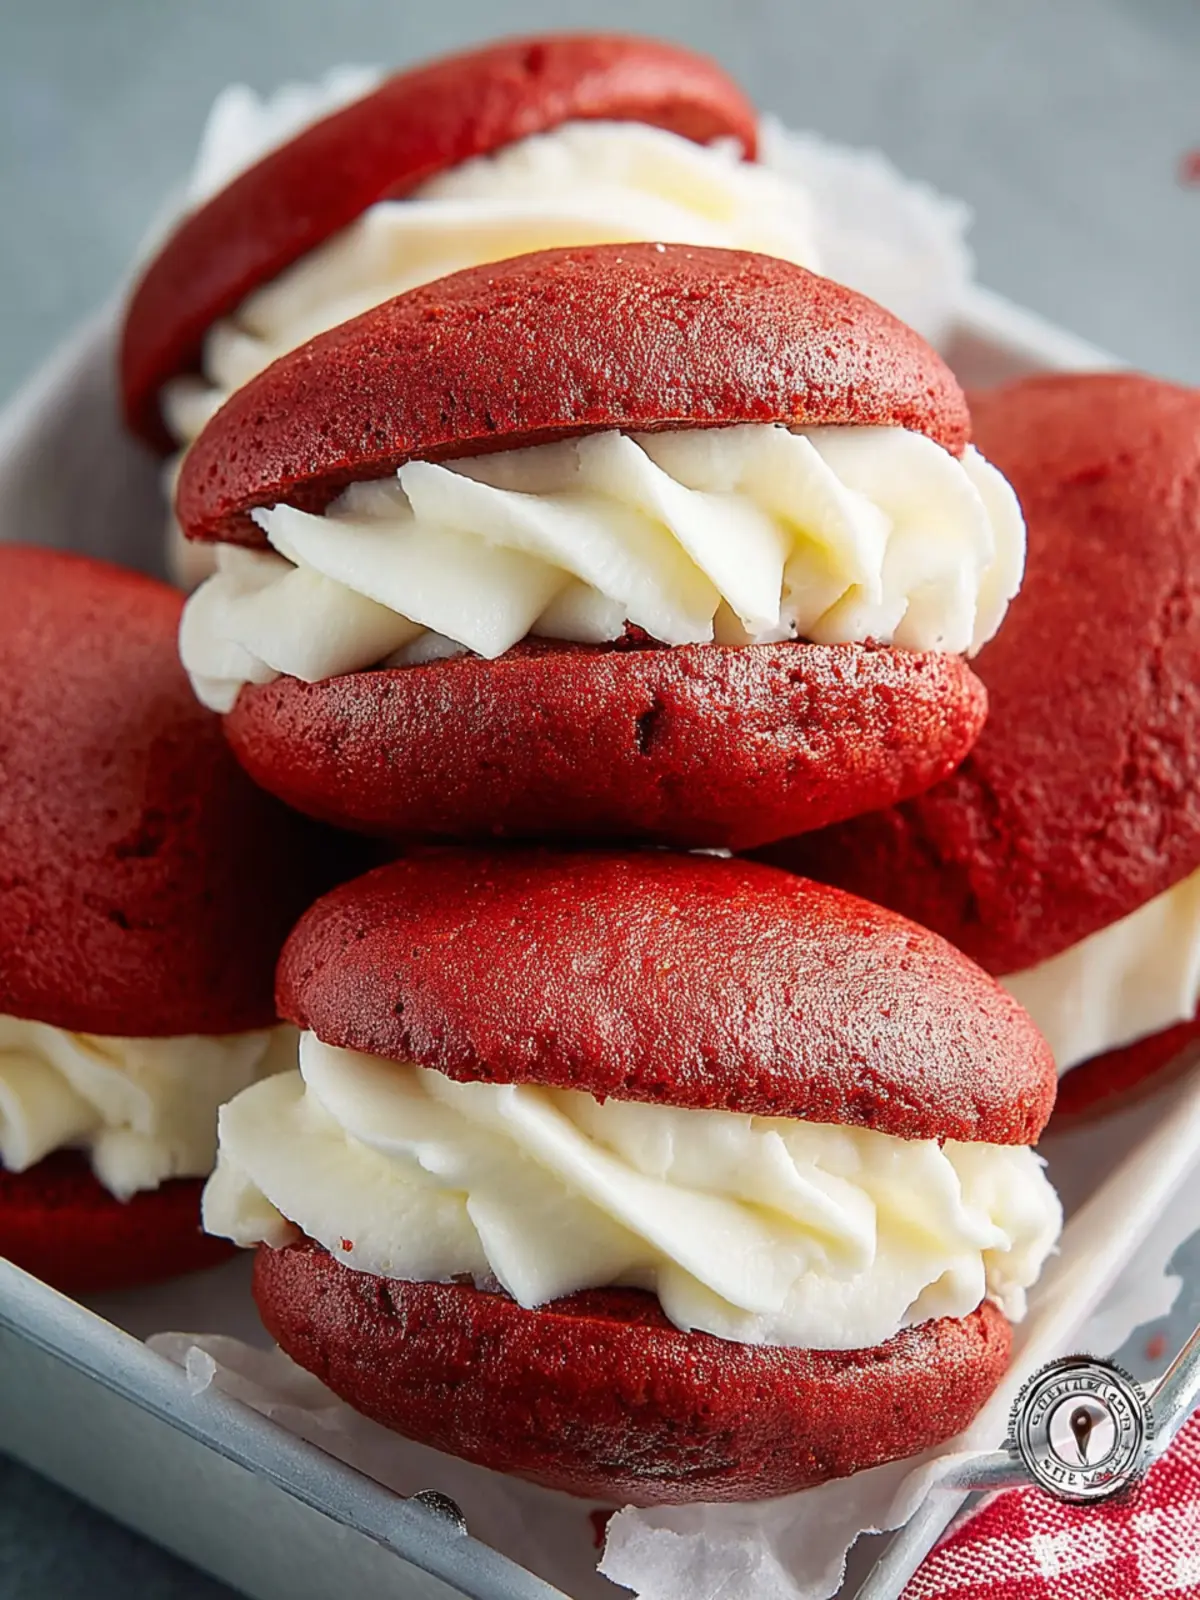
Imagine sinking your teeth into a delightful treat that combines the rich flavor of red velvet cake and the irresistibly soft texture of a cookie. Red velvet whoopie pies are the perfect embodiment of this fantasy, taking dessert enjoyment to a whole new level. These delightful treats consist of two fluffy red velvet cakes sandwiched around a generous scoop of cream cheese filling. The result? A blissful harmony of flavors and textures that are sure to bring smiles to anyone fortunate enough to indulge in them.
So, what’s the story behind these delicious desserts? Originating from the classic whoopie pie, which boasts Pennsylvania Dutch roots, red velvet whoopie pies stand out with their vibrant color and unique taste. The red velvet flavor profile, a mix of cocoa powder and buttermilk with a hint of vanilla, adds a charming twist that distinguishes them from traditional whoopie pies.
As you prepare to make your own batch, you’ll discover just how simple it is to craft these indulgent desserts at home. Whether you’re hosting a gathering, treating yourself for a job well done, or surprising a loved one, red velvet whoopie pies will steal the show and make any occasion more special. The beautiful red hue garners attention, and the delightful taste will keep hearts warm and bellies full.
What are Red Velvet Whoopie Pies?
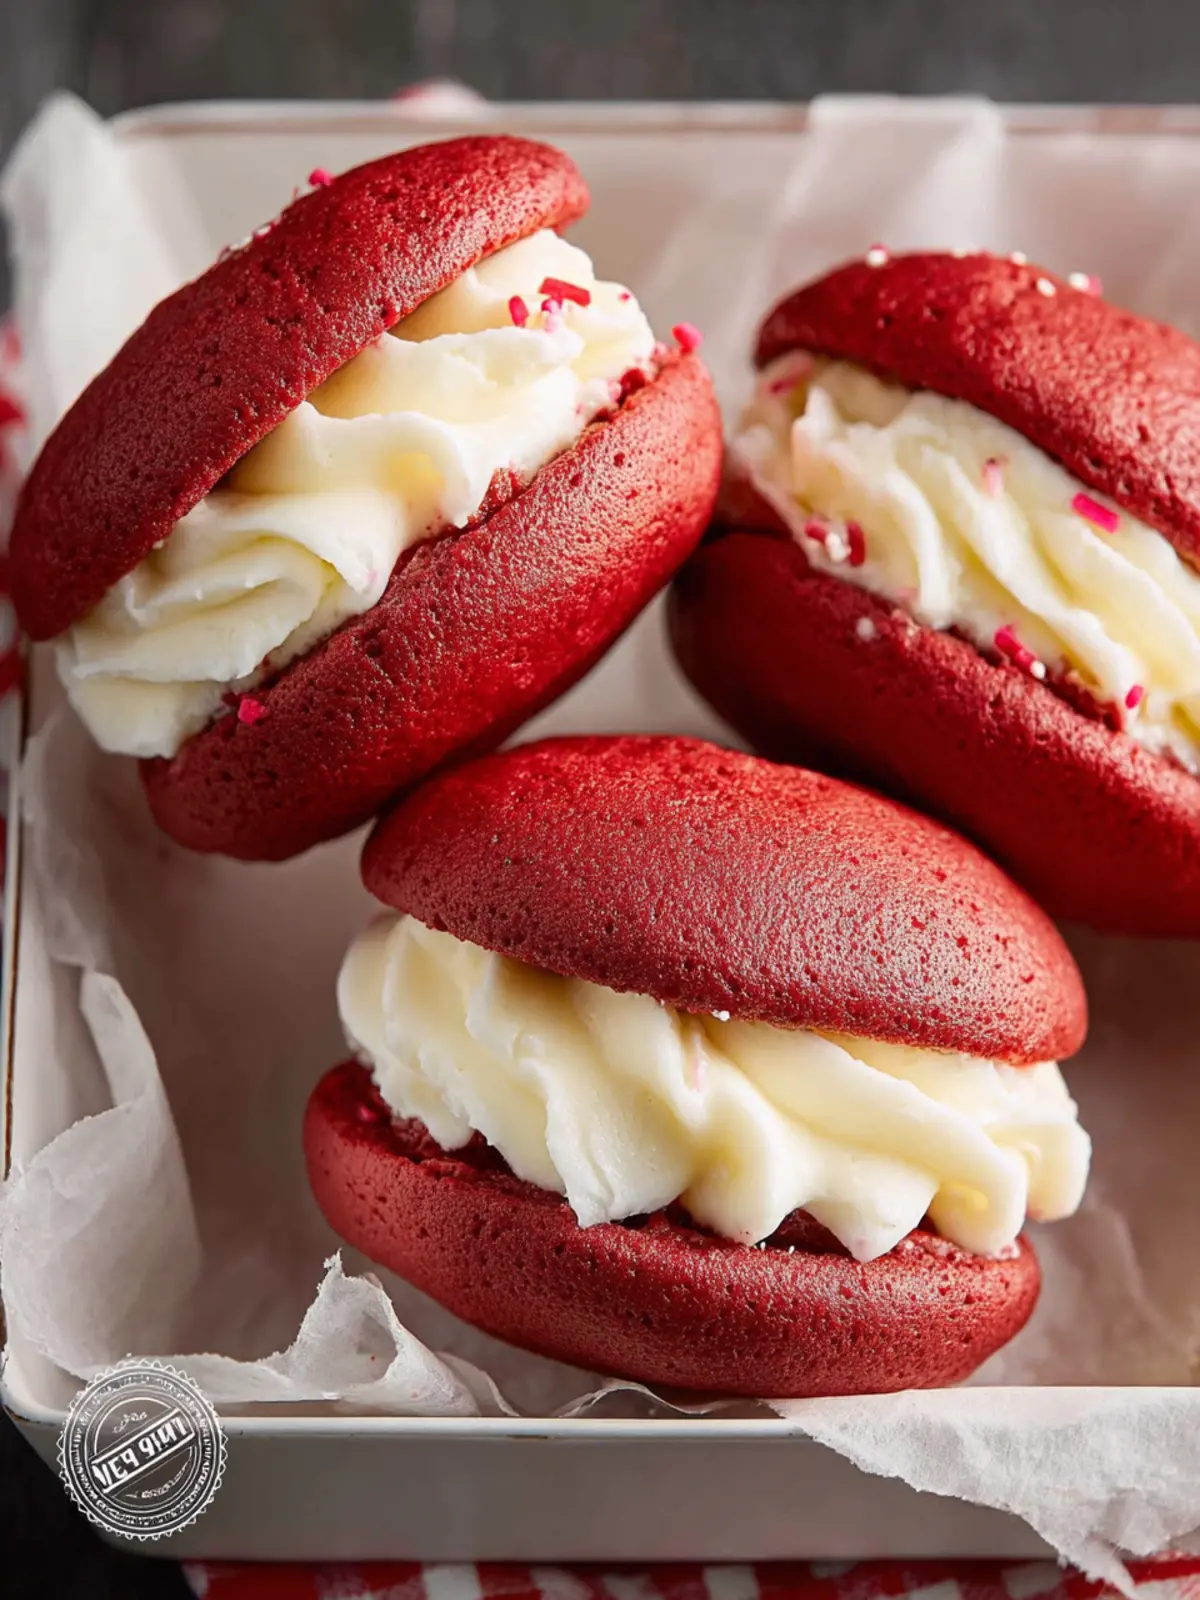
Red velvet whoopie pies are essentially two soft and cakey cookies, often dyed a striking red, with a luscious cream cheese filling nestled in between. Often described as falling somewhere between a cookie and a cake, the texture is fluffy and moist, making each bite a delectable experience.
These treats not only offer a visual spectacle but also provide a feast for the palate. If you’re looking to impress, serving your guests red velvet whoopie pies is a surefire way to do so. With their eye-catching color and rich flavor, they epitomize the joys of baking and sharing homemade delights.
So, grab your apron and get ready to embark on a baking adventure that’ll fill your kitchen with warm, inviting aromas and leave you with delicious memories!
Key Ingredients for Red Velvet Whoopie Pies
Red velvet whoopie pies are more than just a delicious treat; they’re a celebration of flavor and texture that elevate any occasion. To create these scrumptious delights, understanding the key ingredients is essential.
-
Cocoa Powder: Just a hint of cocoa powder gives that signature red velvet flavor without overpowering it. Choose a high-quality, unsweetened cocoa for the best results.
-
Granulated Sugar: Sweetness is key! Granulated sugar brings a lovely sweetness, balancing the cocoa and adding moisture to the cake-like cookies.
-
All-Purpose Flour: This serves as the base for your whoopie pies. sifting the flour ensures a light and tender texture.
-
Baking Soda and Baking Powder: This combination gives the whoopie pies their perfect rise, resulting in soft, fluffy rounds that are a pleasure to bite into.
-
Eggs: Eggs not only add moisture but also contribute to the richness and structure of the cookies, ensuring they hold up against the creamy filling.
-
Buttermilk: Buttermilk adds a delightful tanginess that heightens the overall flavor profile, while also keeping the whoopie pies tender and moist.
-
Vanilla Extract: A splash of vanilla enhances the sweetness and depth of flavor, making each bite even more enjoyable.
These ingredients come together to create a dessert that’s not just visually appealing but also a treat for the taste buds. Don’t be surprised if they quickly vanish at your next gathering!
Why You’ll Love These Red Velvet Whoopie Pies
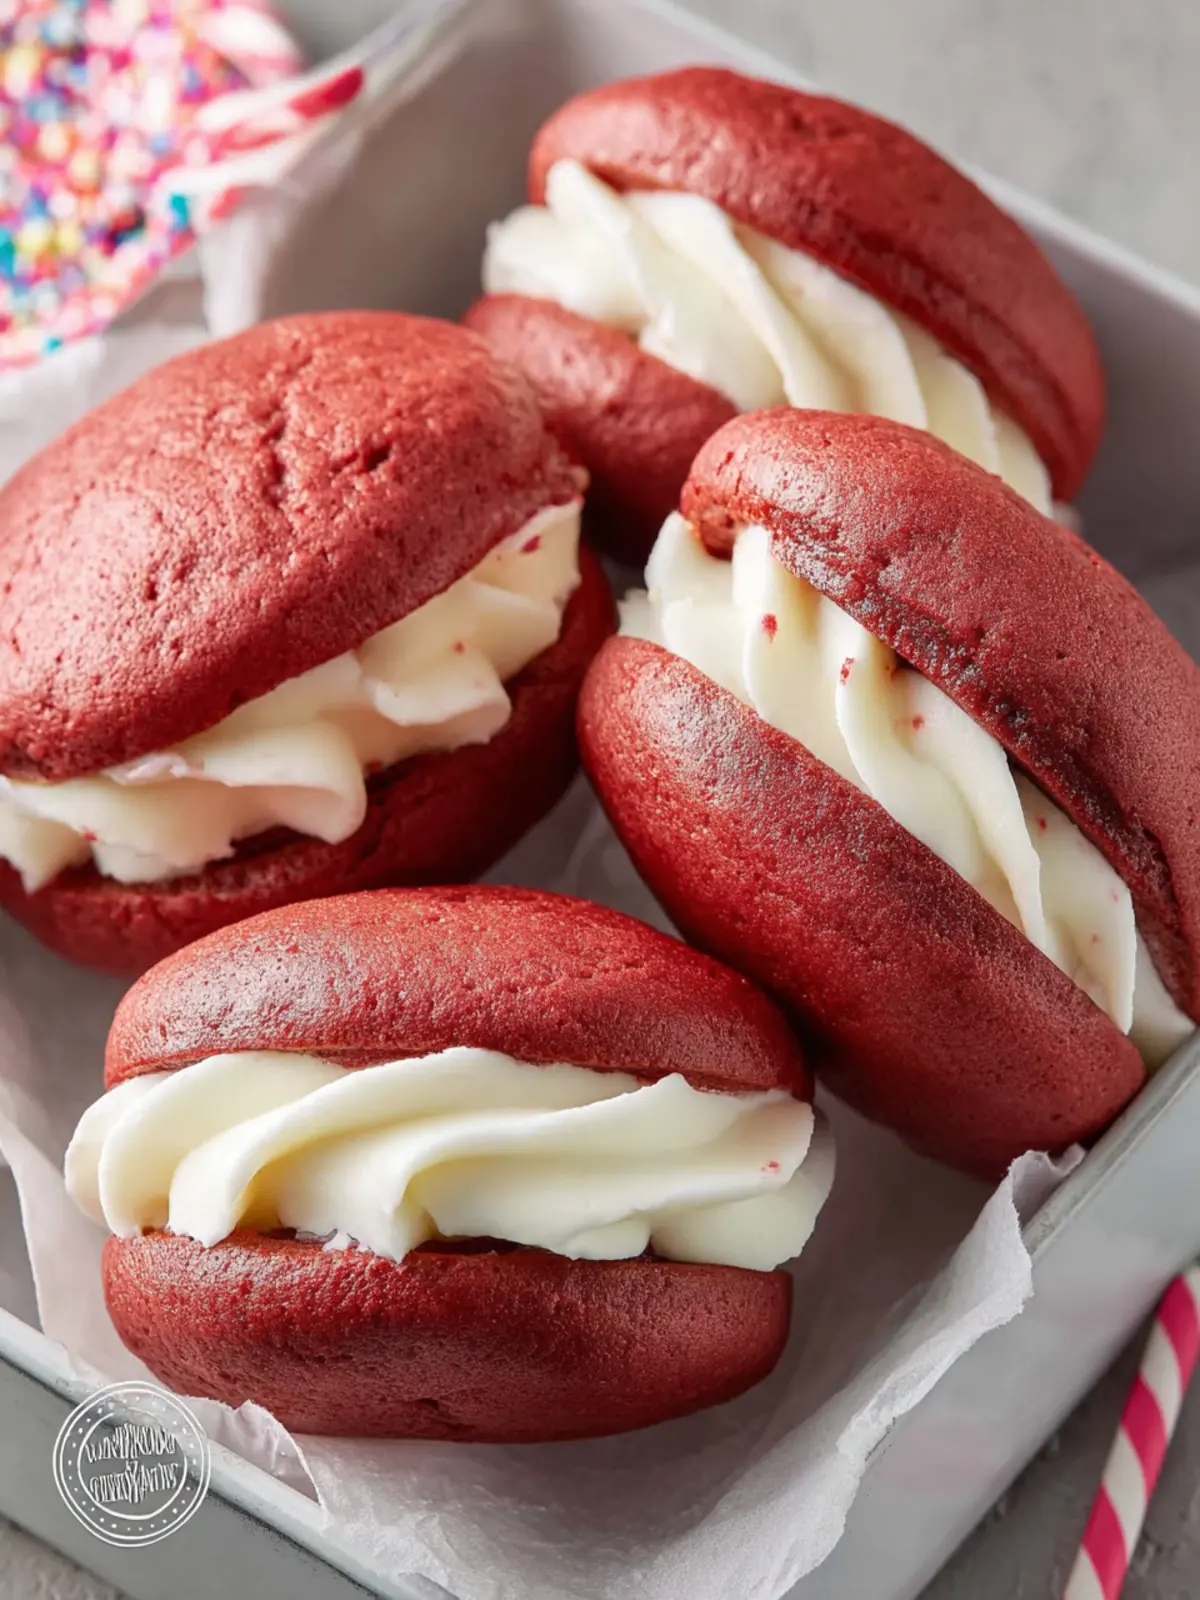
Imagine sinking your teeth into a red velvet whoopie pie, where the rich and velvety texture meets a pillowy, cream cheese filling. The moment you take that first bite, you’ll be captivated by the perfect balance of flavors—a little chocolate, a hint of vanilla, and a sumptuous creaminess that dances on your palate.
-
A Unique Twist: While classic desserts have their charm, the red velvet whoopie pie stands out with its playful combination of cake and cream, making it the ideal treat for any occasion, whether it’s a casual snack or a festive celebration.
-
Easy to Make: This recipe is surprisingly simple, offering young professionals a chance to impress friends without spending hours in the kitchen. With straightforward ingredients and steps, you’ll find yourself whipping up a batch in no time.
-
Versatile Treat: Customize your whoopie pies by adding flavors like peppermint or espresso to the cream filling. This flexibility lets you get creative and suit various tastes.
-
Perfect for Sharing: These pies are not just delicious; they also look great on a platter, making them an inviting choice for potlucks or gatherings. Everyone will want to dig into your delightful handiwork.
Dive into this culinary adventure, and discover why red velvet whoopie pies will quickly become a favorite in your dessert repertoire!
Variations of Red Velvet Whoopie Pies
Exploring red velvet whoopie pies can open up a world of delightful flavor alternatives, catering to various dietary needs and preferences. Whether you’re gluten-sensitive or following a vegan lifestyle, there’s a mouthwatering version for you.
Gluten-Free Red Velvet Whoopie Pies
For those who need to avoid gluten, creating a scrumptious gluten-free red velvet whoopie pie is easier than you might think. Simply swap the all-purpose flour in your recipe for a 1:1 gluten-free flour blend. Many brands offer blends that contain Xanthan gum to mimic the elasticity of traditional flour. This small change ensures that your whoopie pies are just as moist and delicious, making it a treat everyone can enjoy!
Vegan Red Velvet Whoopie Pies
Embracing a vegan lifestyle doesn’t mean missing out on red velvet whoopie pies. To create a vegan version, substitute the eggs with flaxseed meal—mix one tablespoon of flaxseed meal with three tablespoons of water and let it sit for a few minutes until it thickens. For the butter, use a plant-based alternative, and replace dairy milk with almond or oat milk. By making these simple substitutions, you’ll whip up delightful whoopie pies that are not only kind to animals but equally satisfying to your taste buds! Enjoy the delicious, rich flavor without the guilt!
Cooking Tips and Notes
Creating the perfect red velvet whoopie pies requires not only following the recipe but also paying attention to some key details. These tips will help you impress your friends and family with delightful treats.
How to achieve the perfect cookie consistency
The consistency of your cookies plays a crucial role in whether your red velvet whoopie pies turn out chewy or cakey. For a delightful texture, ensure you:
- Use room temperature ingredients: This helps achieve a uniform batter.
- Don’t overmix: Gently fold the dry ingredients into the wet ones until just combined. Overmixing can lead to tough cookies.
- Scoop uniformly: Using a cookie scoop will help you maintain consistent sizes, ensuring even baking.
Storage tips for freshness
To keep your red velvet whoopie pies deliciously fresh after baking:
- Let them cool completely: This prevents condensation and sogginess when stored.
- Seal in an airtight container: This helps to maintain their moisture for up to 3 days at room temperature. If you want to store them longer, consider freezing them!
- Use parchment paper between layers: When stacking them in a container, this helps avoid sticking.
These simple yet effective strategies will elevate your baking game and keep your whoopie pies irresistible!
Serving Suggestions for Red Velvet Whoopie Pies
Indulging in red velvet whoopie pies is an experience worth sharing, and nothing enhances this sweet delight like the perfect beverage.
Great Pairings with Beverages
Consider pairing your whoopie pies with a creamy buttermilk milkshake. The cool, tangy flavor complements the rich sweetness of the pies beautifully. Alternatively, a classic cup of coffee can balance the sweetness while enhancing the chocolate notes in the red velvet batter. Feel adventurous? Try a raspberry iced tea—its fruity tartness makes for a refreshing contrast that brightens every bite.
Perfect Occasions for Serving
Red velvet whoopie pies shine on special occasions. Whether it’s a cozy birthday gathering or an elegant bridal shower, these treats can elevate any dessert table. They’re also a fantastic option for holiday festivities—just imagine a tray of these luscious pies at your next Christmas or Valentine’s Day celebration. Don’t forget casual get-togethers; they are always a hit at picnics or potlucks, making sharing a delight.
Time Breakdown for Making Red Velvet Whoopie Pies
Creating red velvet whoopie pies is a delightful culinary adventure that comes with its own timeline. Understanding how to break down your time will help make the process enjoyable and stress-free. Here’s how your time will be spent:
Preparation Time
Getting everything ready for your red velvet whoopie pies takes about 15-20 minutes. This includes gathering your ingredients, mixing the batter, and portioning out the cookies.
Baking Time
Once prepped, these beautiful cookies only need about 10-12 minutes in the oven. Keep a close eye on them—overbaking can lead to a less-than-perfect texture!
Cooling Time
Letting your whoopie pies cool is crucial and usually takes about 30 minutes. This step ensures they hold their shape and are super easy to handle.
Total Time
All in all, you’re looking at around 55-62 minutes from start to finish for these mouthwatering treats. Once you’ve tasted these red velvet whoopie pies, you’ll find every minute was worth it!
Nutritional Facts for Red Velvet Whoopie Pies
When you indulge in red velvet whoopie pies, you’re savoring a delightful treat that balances taste and nutrition, making it a worthy addition to your dessert repertoire.
Calories per serving
A typical serving of red velvet whoopie pies contains about 150-200 calories. This makes them a sweet indulgence that won’t completely derail your daily caloric intake.
Carbohydrates and fats
Each pie has around 24 grams of carbohydrates and 8 grams of fat. While they do offer some energy, moderation is key to enjoying these delightful desserts without overdoing it.
Key vitamins and minerals
These whoopie pies are not just about sugar and carbs; they also contain valuable nutrients! The cocoa powder provides antioxidants, while the eggs contribute protein and essential vitamins like B12. A touch of red food coloring adds a hint of fun but doesn’t bring additional nutrients.
By enjoying red velvet whoopie pies wisely, you can satisfy your sweet tooth while still keeping an eye on your nutritional goals!
FAQs about Red Velvet Whoopie Pies
Red velvet whoopie pies have a way of capturing hearts and satisfying sweet cravings effortlessly. Whether it’s the rich flavor or the appealing texture, these delightful treats often leave people curious about how best to enjoy them. Here, we’ve compiled answers to some frequently asked questions that pop up around these scrumptious goodies.
Can I make these ahead of time?
Absolutely! Red velvet whoopie pies can be prepared in advance, making them perfect for parties or gatherings. You can bake the cakes a day or two ahead and store them in an airtight container. Just remember to make the filling fresh before serving for optimal taste!
How do I store leftovers?
If you find yourself with some red velvet whoopie pies left over, storing them properly is key. They can be kept at room temperature in an airtight container for up to 3 days. If you anticipate keeping them longer, consider refrigerating them, which can extend their freshness for about a week.
What is the best way to keep them fresh?
To maximize the freshness of your red velvet whoopie pies, place them in a single layer in your storage container, ensuring they’re not squished together. You might also consider placing a piece of parchment paper between layers if you stack them. For long-term storage, you can freeze the filled pies—simply wrap each one tightly in plastic wrap and place them in a freezer-safe bag. They can last up to 3 months frozen, and when you’re ready to indulge, just thaw them in the fridge.
With these tips in hand, you’re set to enjoy your red velvet whoopie pies for days to come!
Conclusion on Red Velvet Whoopie Pies
In closing, red velvet whoopie pies offer a delightful balance of rich flavors and fluffy textures that make them an irresistible treat. Whether you’re hosting a gathering or simply indulging yourself, these pies are sure to impress. The vibrant red color elevates their appeal, making them a perfect choice for any celebration. Remember, the secret to the perfect whoopie pie lies in the careful mixing of ingredients and the love you put into baking. So, don your apron, gather your friends or family, and enjoy creating these scrumptious sweets together. You’ll find that each bite is a piece of effortless joy!
Print
Red Velvet Sandwich Cookies
- Total Time: 35 minutes
- Yield: 24 cookies 1x
Description
Delicious red velvet cookies with cream cheese frosting that make the perfect dessert sandwiches.
Ingredients
Scale
- 2 ½ cups all purpose flour
- 2 tablespoons cocoa powder
- 1 teaspoon baking soda
- 1 teaspoon baking powder
- ½ teaspoon salt
- ½ cup unsalted butter (softened to room temperature)
- 1 cup granulated sugar
- 1 large egg (at room temperature)
- 2 teaspoons red food coloring
- 1 teaspoon pure vanilla extract
- ½ teaspoon white vinegar
- 1 cup buttermilk (at room temperature)
- 4 ounces cream cheese (softened to room temperature)
- ¼ cup unsalted butter (softened to room temperature)
- 1 ½ cups powdered sugar
- 1–2 tablespoons heavy cream
- ½ teaspoon pure vanilla extract
Instructions
- Preheat your oven to 350°F (180°C) or 160°C if you have a fan oven. Line 3 cookie sheets with parchment paper or silicone baking mats.
- In a large mixing bowl, whisk together the flour, cocoa powder, baking soda, baking powder, and salt; set aside.
- In a separate bowl, cream together the butter and sugar until light and fluffy, about 2-3 minutes.
- Mix in the egg, red food coloring, vanilla extract, and white vinegar until fully combined.
- Add the dry ingredients to the butter mixture and mix at low speed until combined. Add the buttermilk and mix until smooth.
- Scoop the batter using a small cookie scoop (approximately 1 ½ tablespoons) and place it on the prepared baking sheets, spacing them 2 inches apart.
- Bake for 12-15 minutes or until the cookies are puffed and a toothpick inserted into the center comes out clean.
- Allow the cookies to cool on the baking sheets for 5 minutes before transferring them to a wire rack to cool completely.
- In the bowl of a stand mixer, beat the softened cream cheese and butter until smooth and creamy.
- Gradually add the powdered sugar in two additions, mixing well after each addition.
- Add 1-2 tablespoons of heavy cream and beat on high speed until the frosting reaches the desired consistency. Mix in the vanilla extract.
- Pipe or spread frosting onto the flat side of half the cookies. Top with the remaining cookies to create sandwiches.
Notes
- Make sure all ingredients are at room temperature for the best results.
- Store cookies in an airtight container for freshness.
- Prep Time: 20 minutes
- Cook Time: 15 minutes
- Category: Dessert
- Method: Bake
- Cuisine: American
Nutrition
- Serving Size: 1 cookie
- Calories: 200
- Sugar: 15g
- Sodium: 150mg
- Fat: 8g
- Saturated Fat: 5g
- Carbohydrates: 30g
- Fiber: 1g
- Protein: 2g
- Cholesterol: 30mg